


Announcement

Jul 7, 2023
CrossX Released on dAppSocial
Move your stablecoins cross-chain for cheaper with CrossX! Earn immediate yield by providing liquidity.
RISE: 0xC17c30e98541188614dF99239cABD40280810cA3
5 chains, 1 supply Learn More!
On BNB Chain, Ethereum, Polygon, Fantom & Avalanche
Stay up to date on what's happening in the EverRise Ecosystem!
EverRise Leadership ~ November 22, 2021
In this guide, we will show you how to swap your RISE v1.0 for RISE v2.0.
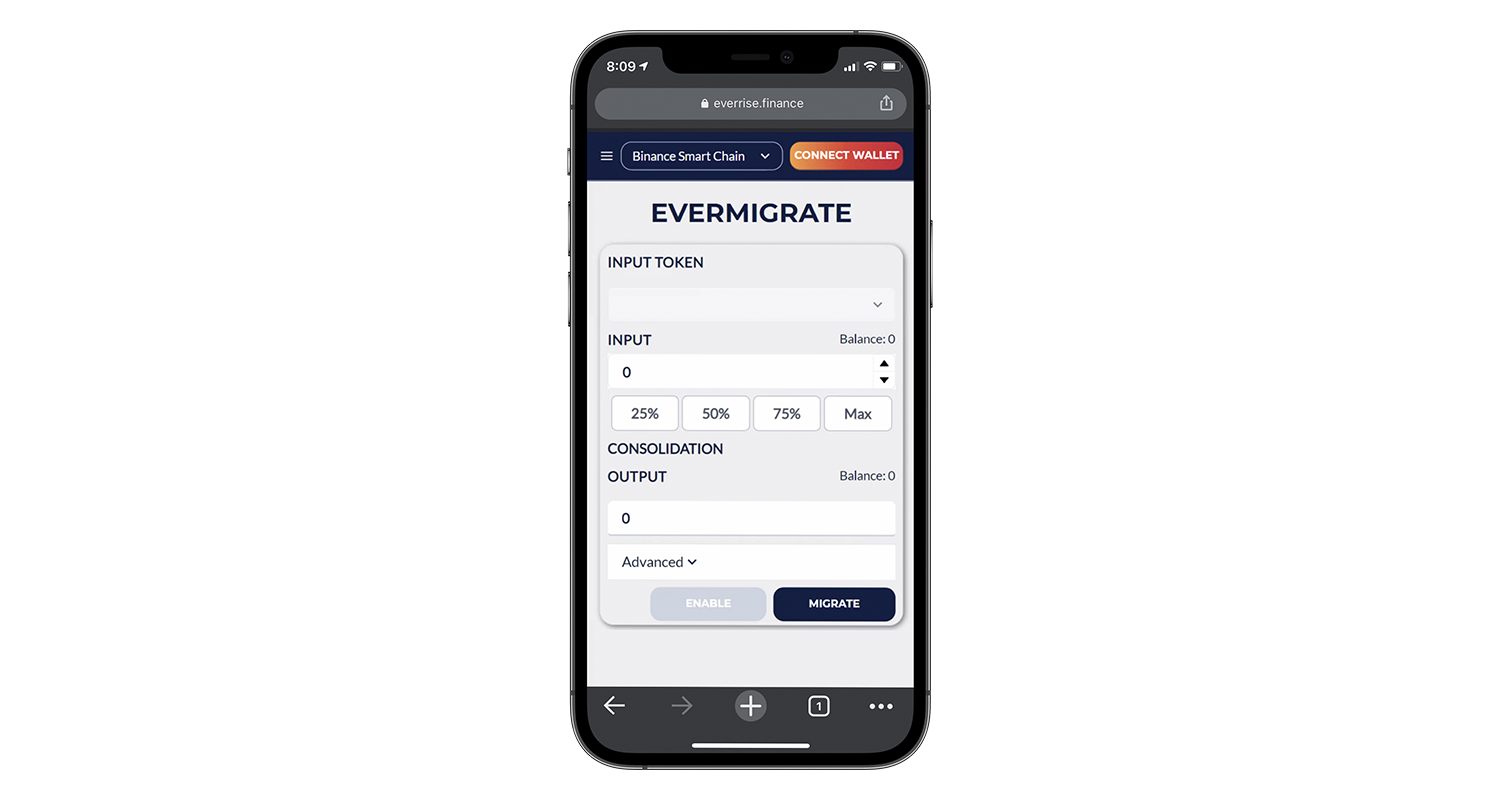
Go to EverRise.Finance
Navigate to the menu and select EverRise Finance. For iOS users, please use either Safari or Google Chrome for your web browser.
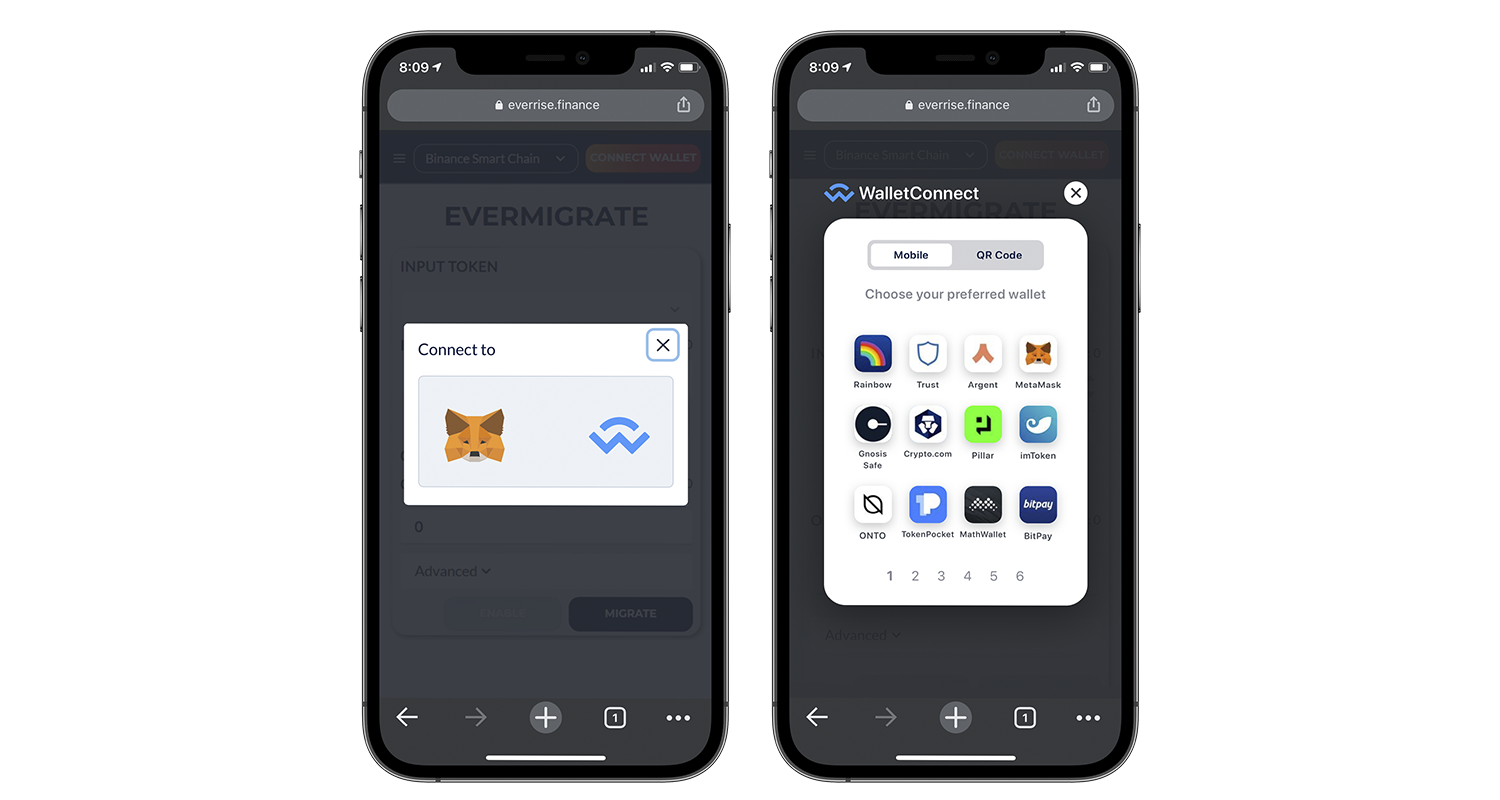
Connect Wallet via Wallet Connect
We support all wallets on Wallet Connect but we recommend using MetaMask and TrustWallet.
If you are holding your RISE in a CoinBase Wallet, please use this guide to import your CoinBase Wallet into TrustWallet.
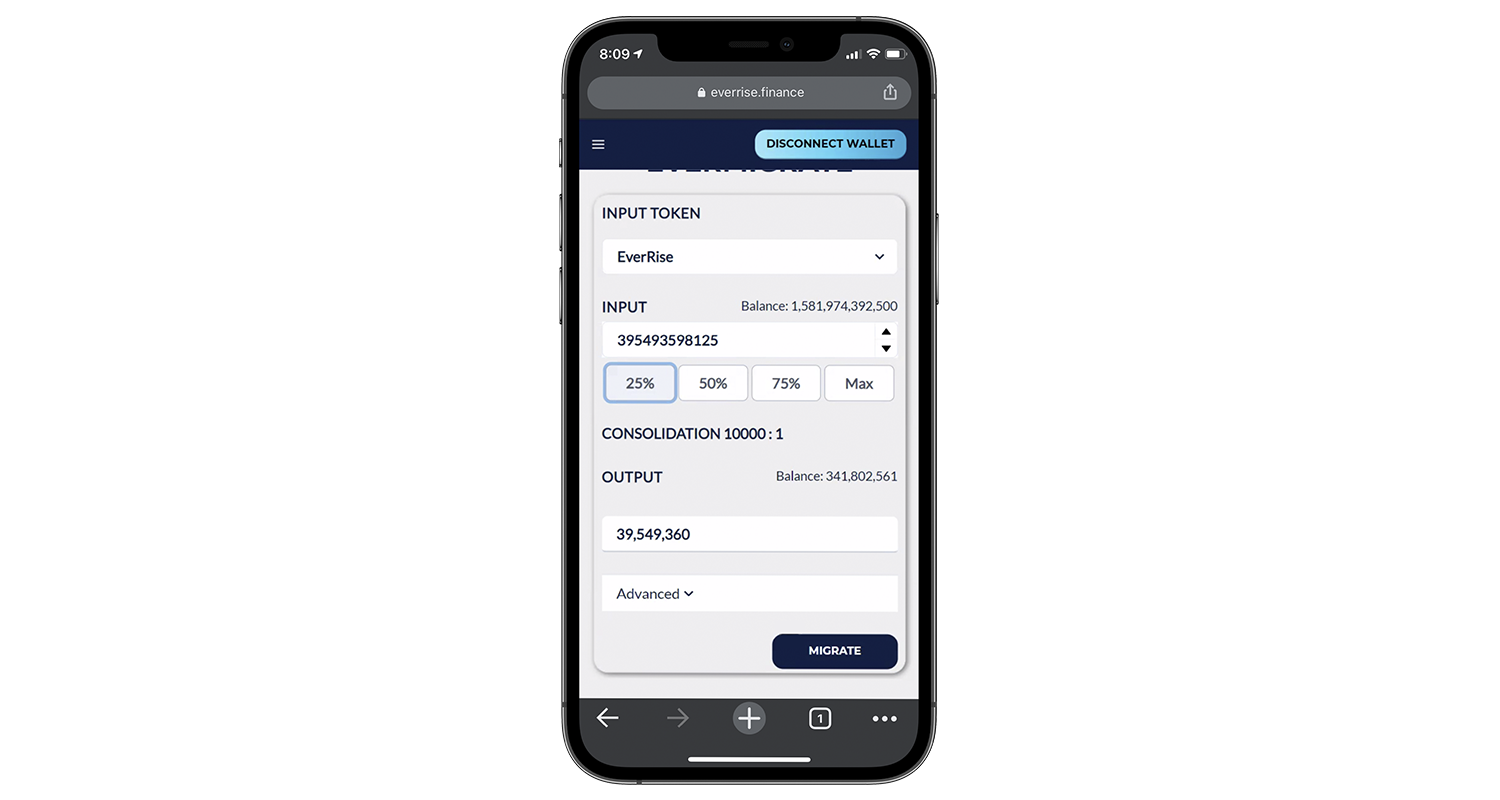
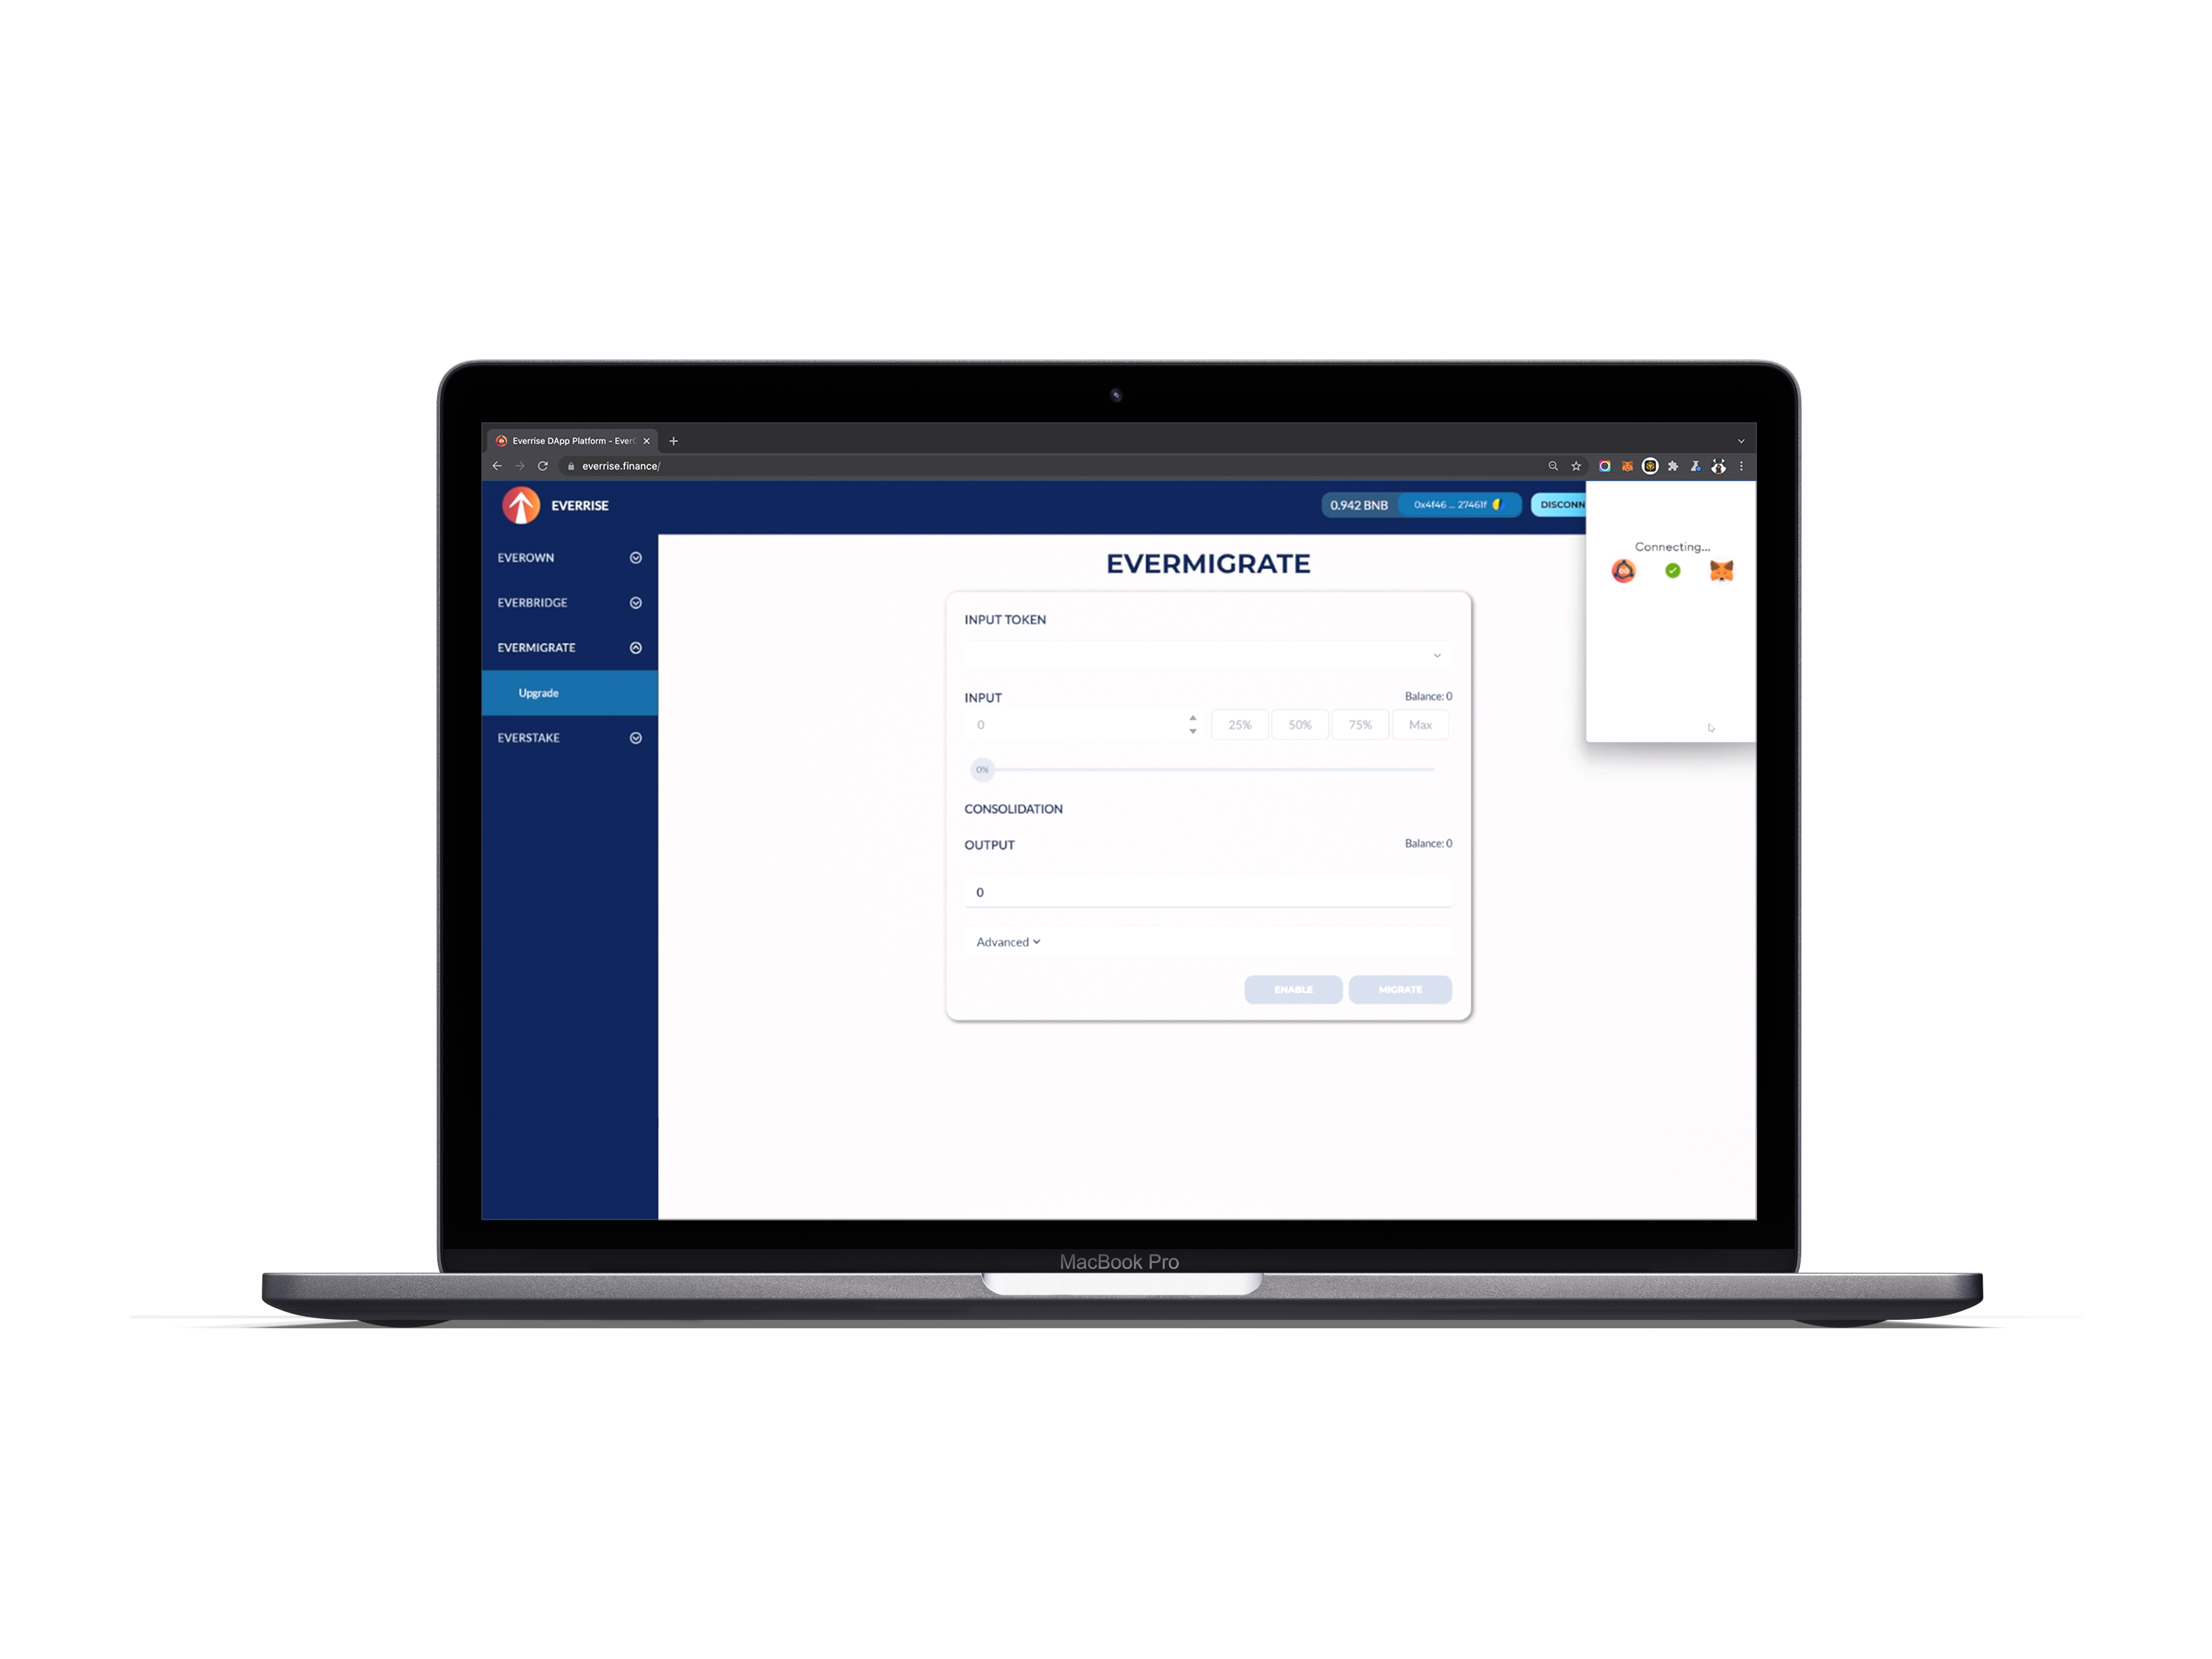
Once Your Wallet is Connected Select EverRise
You will need to enable EverMigrate, when you hit enable it will prompt you to open up your wallet that is connected to sign the transaction.
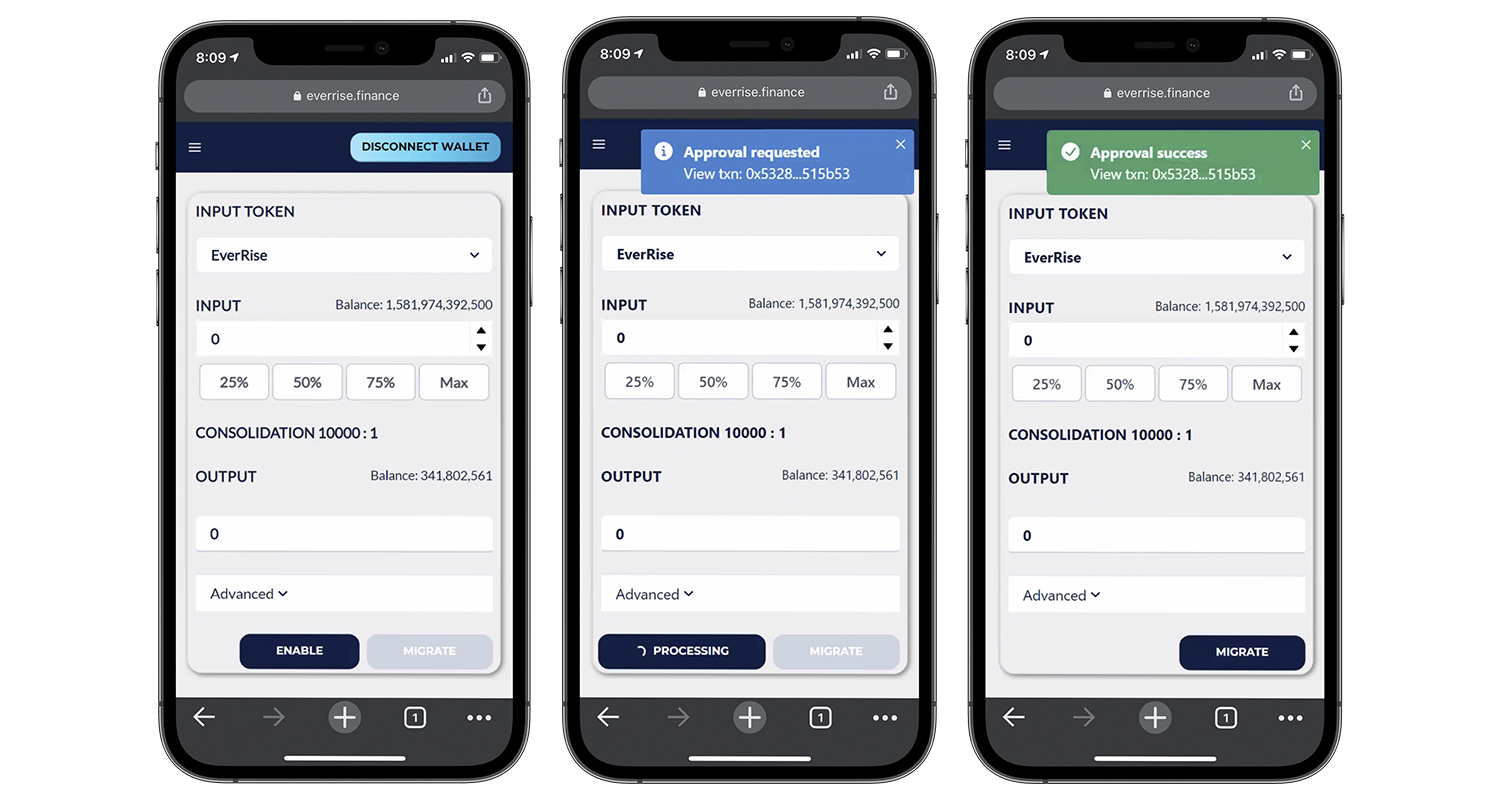
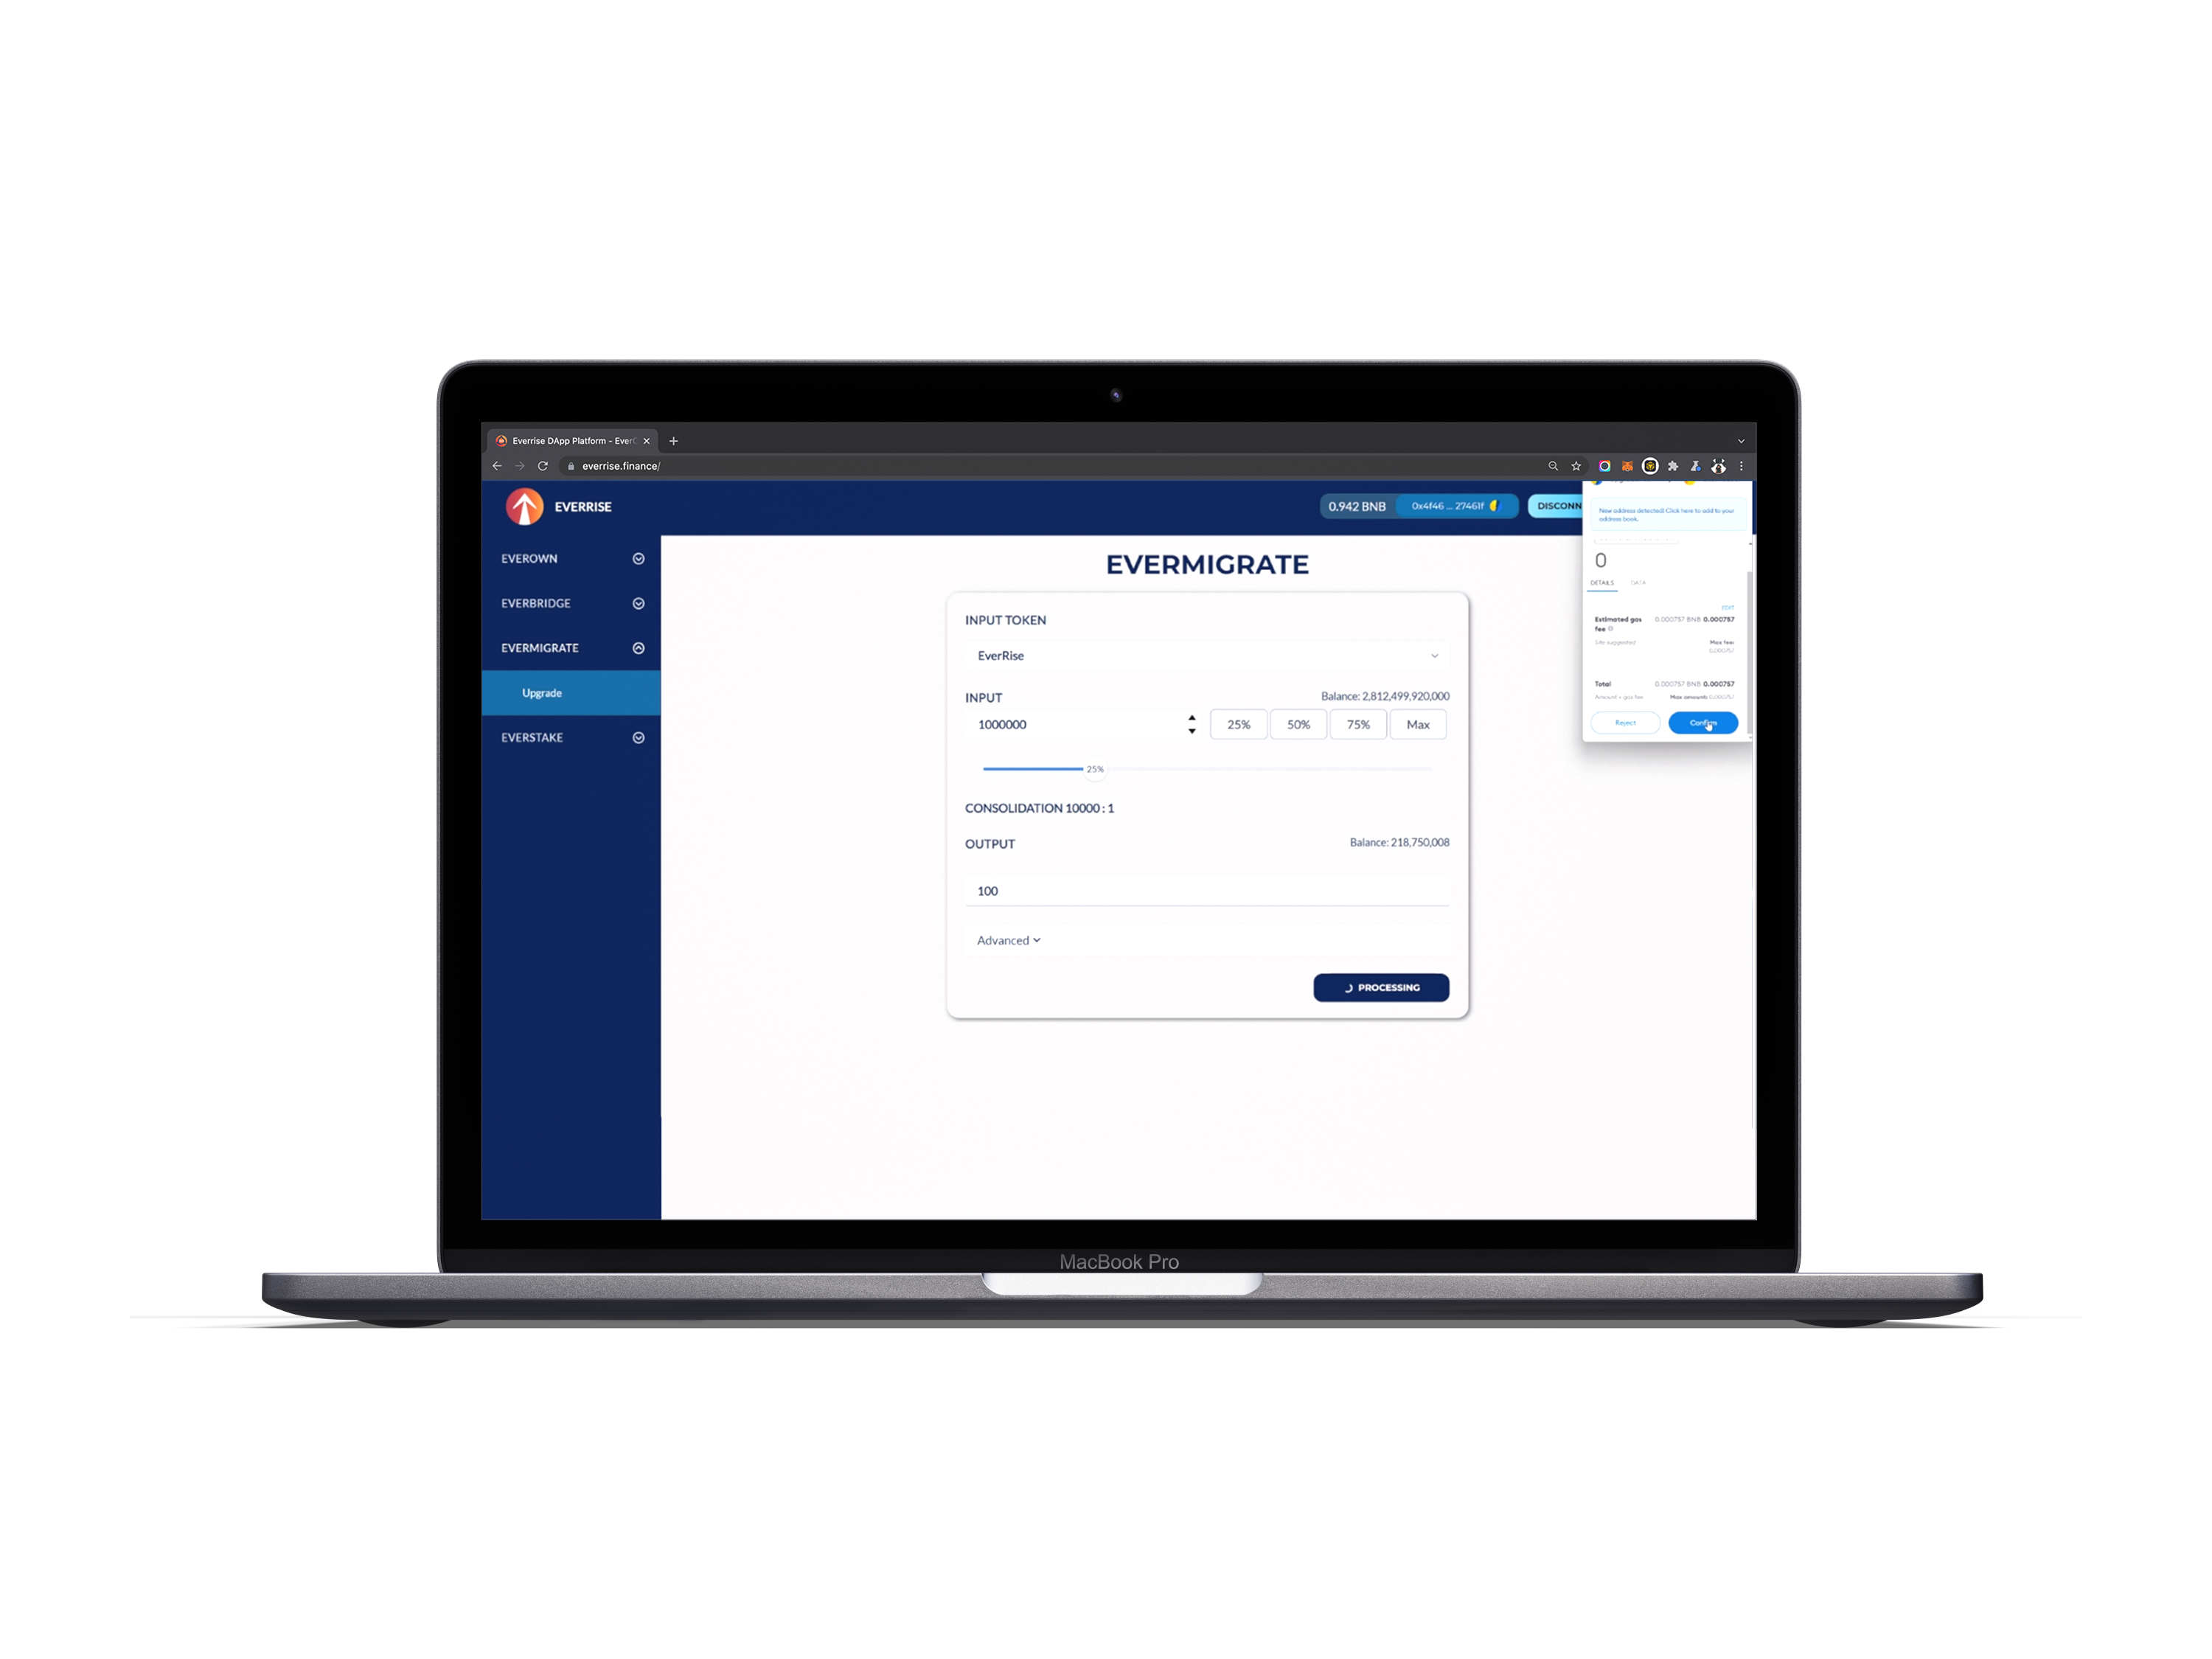
Once enabled, you can select how many tokens you want to migrate to v2.0. You can manually enter a number or utilize the pre-calculated percentages.
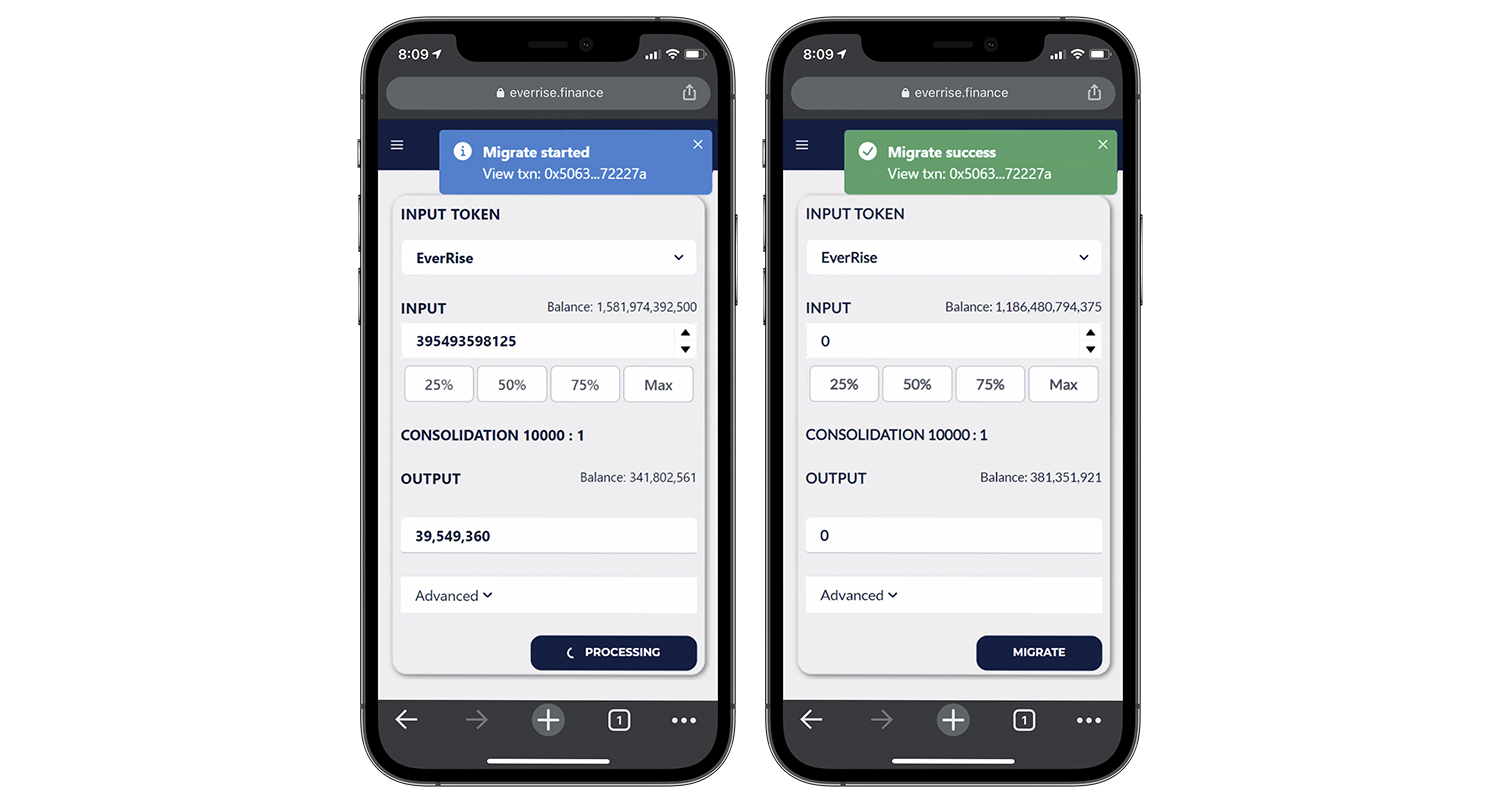
Migrate
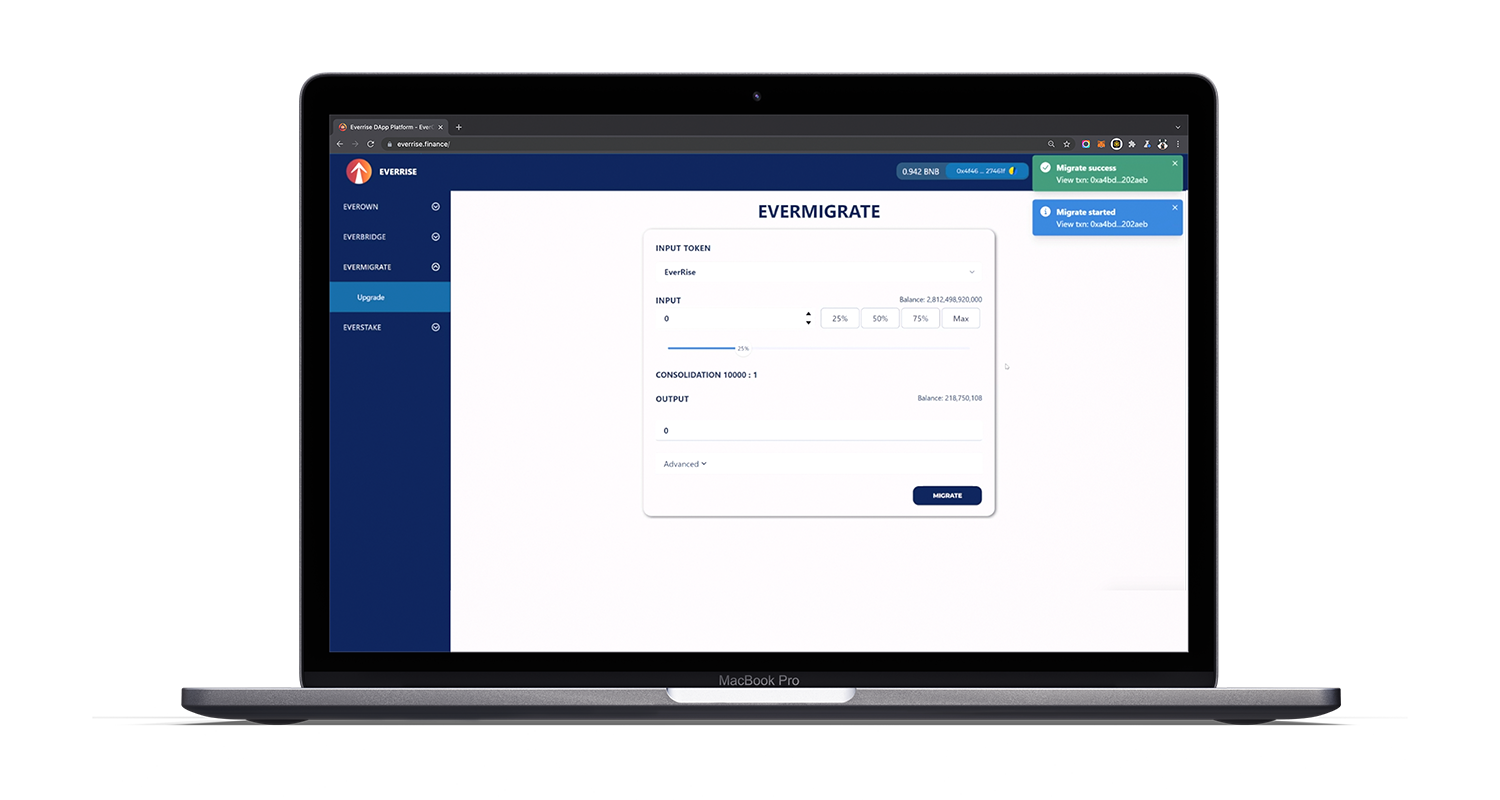
Once you're ready to migrate, press the migrate button. This will prompt your wallet to open again and for you to confirm gas rates and pay gas. Once your transaction has gone through, you'll receive a notification confirming that your tokens have been successfully migrated. You can click on the notification to view the txn and you can see your token balance update.
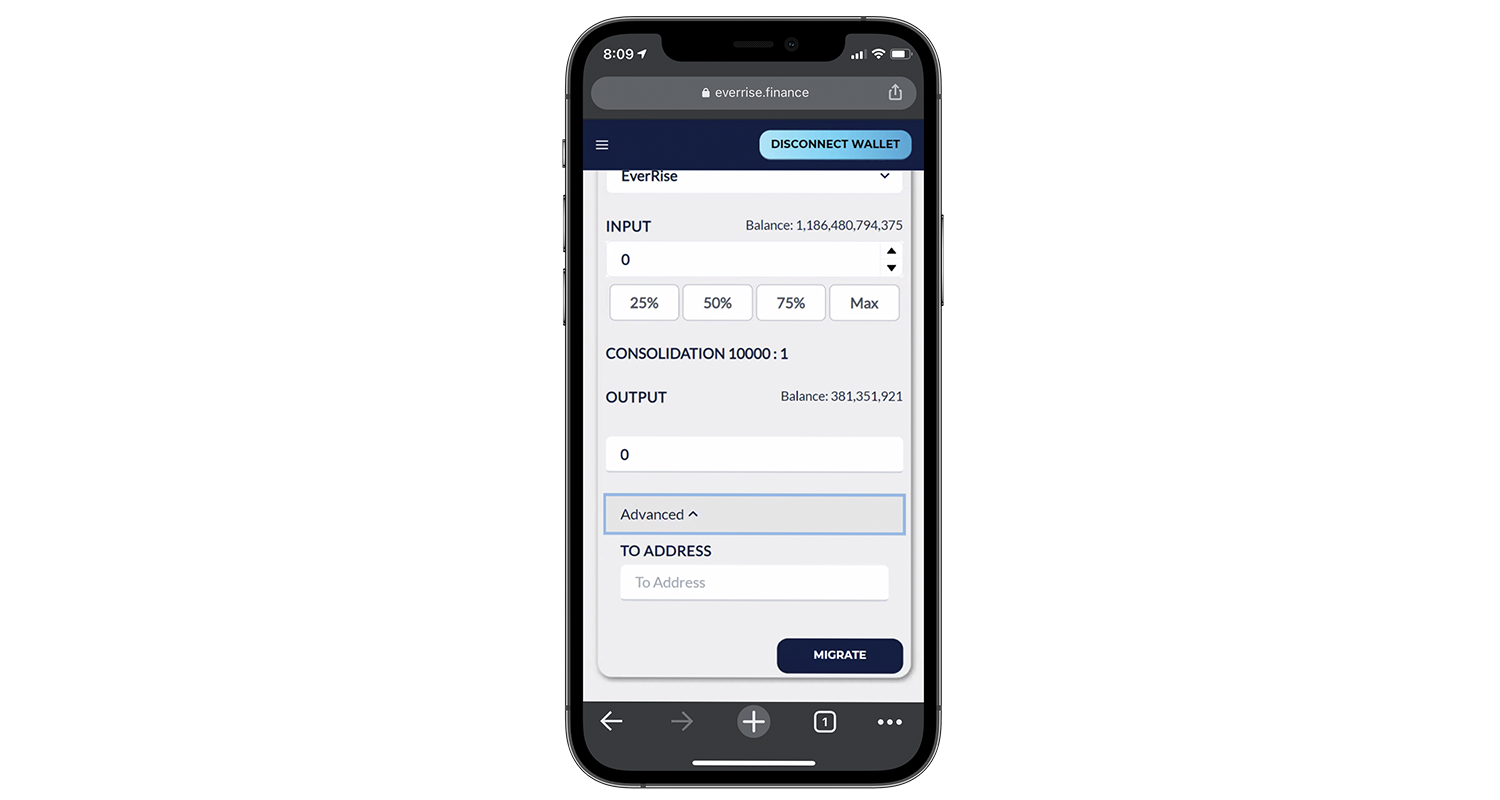
You can choose to send your v2.0 tokens to a new wallet address for no fees except gas. If you use this option, make sure you are inputting a wallet address that is on the same network as your original tokens.
RISE/BNB (BEP-20): Use a wallet address that is compatible with BEP-20
RISE/ETH (ERC-20): Use a wallet address that is compatible with ERC-20
Go to EverRise.Finance
Navigate to the menu and select EverRise Finance.
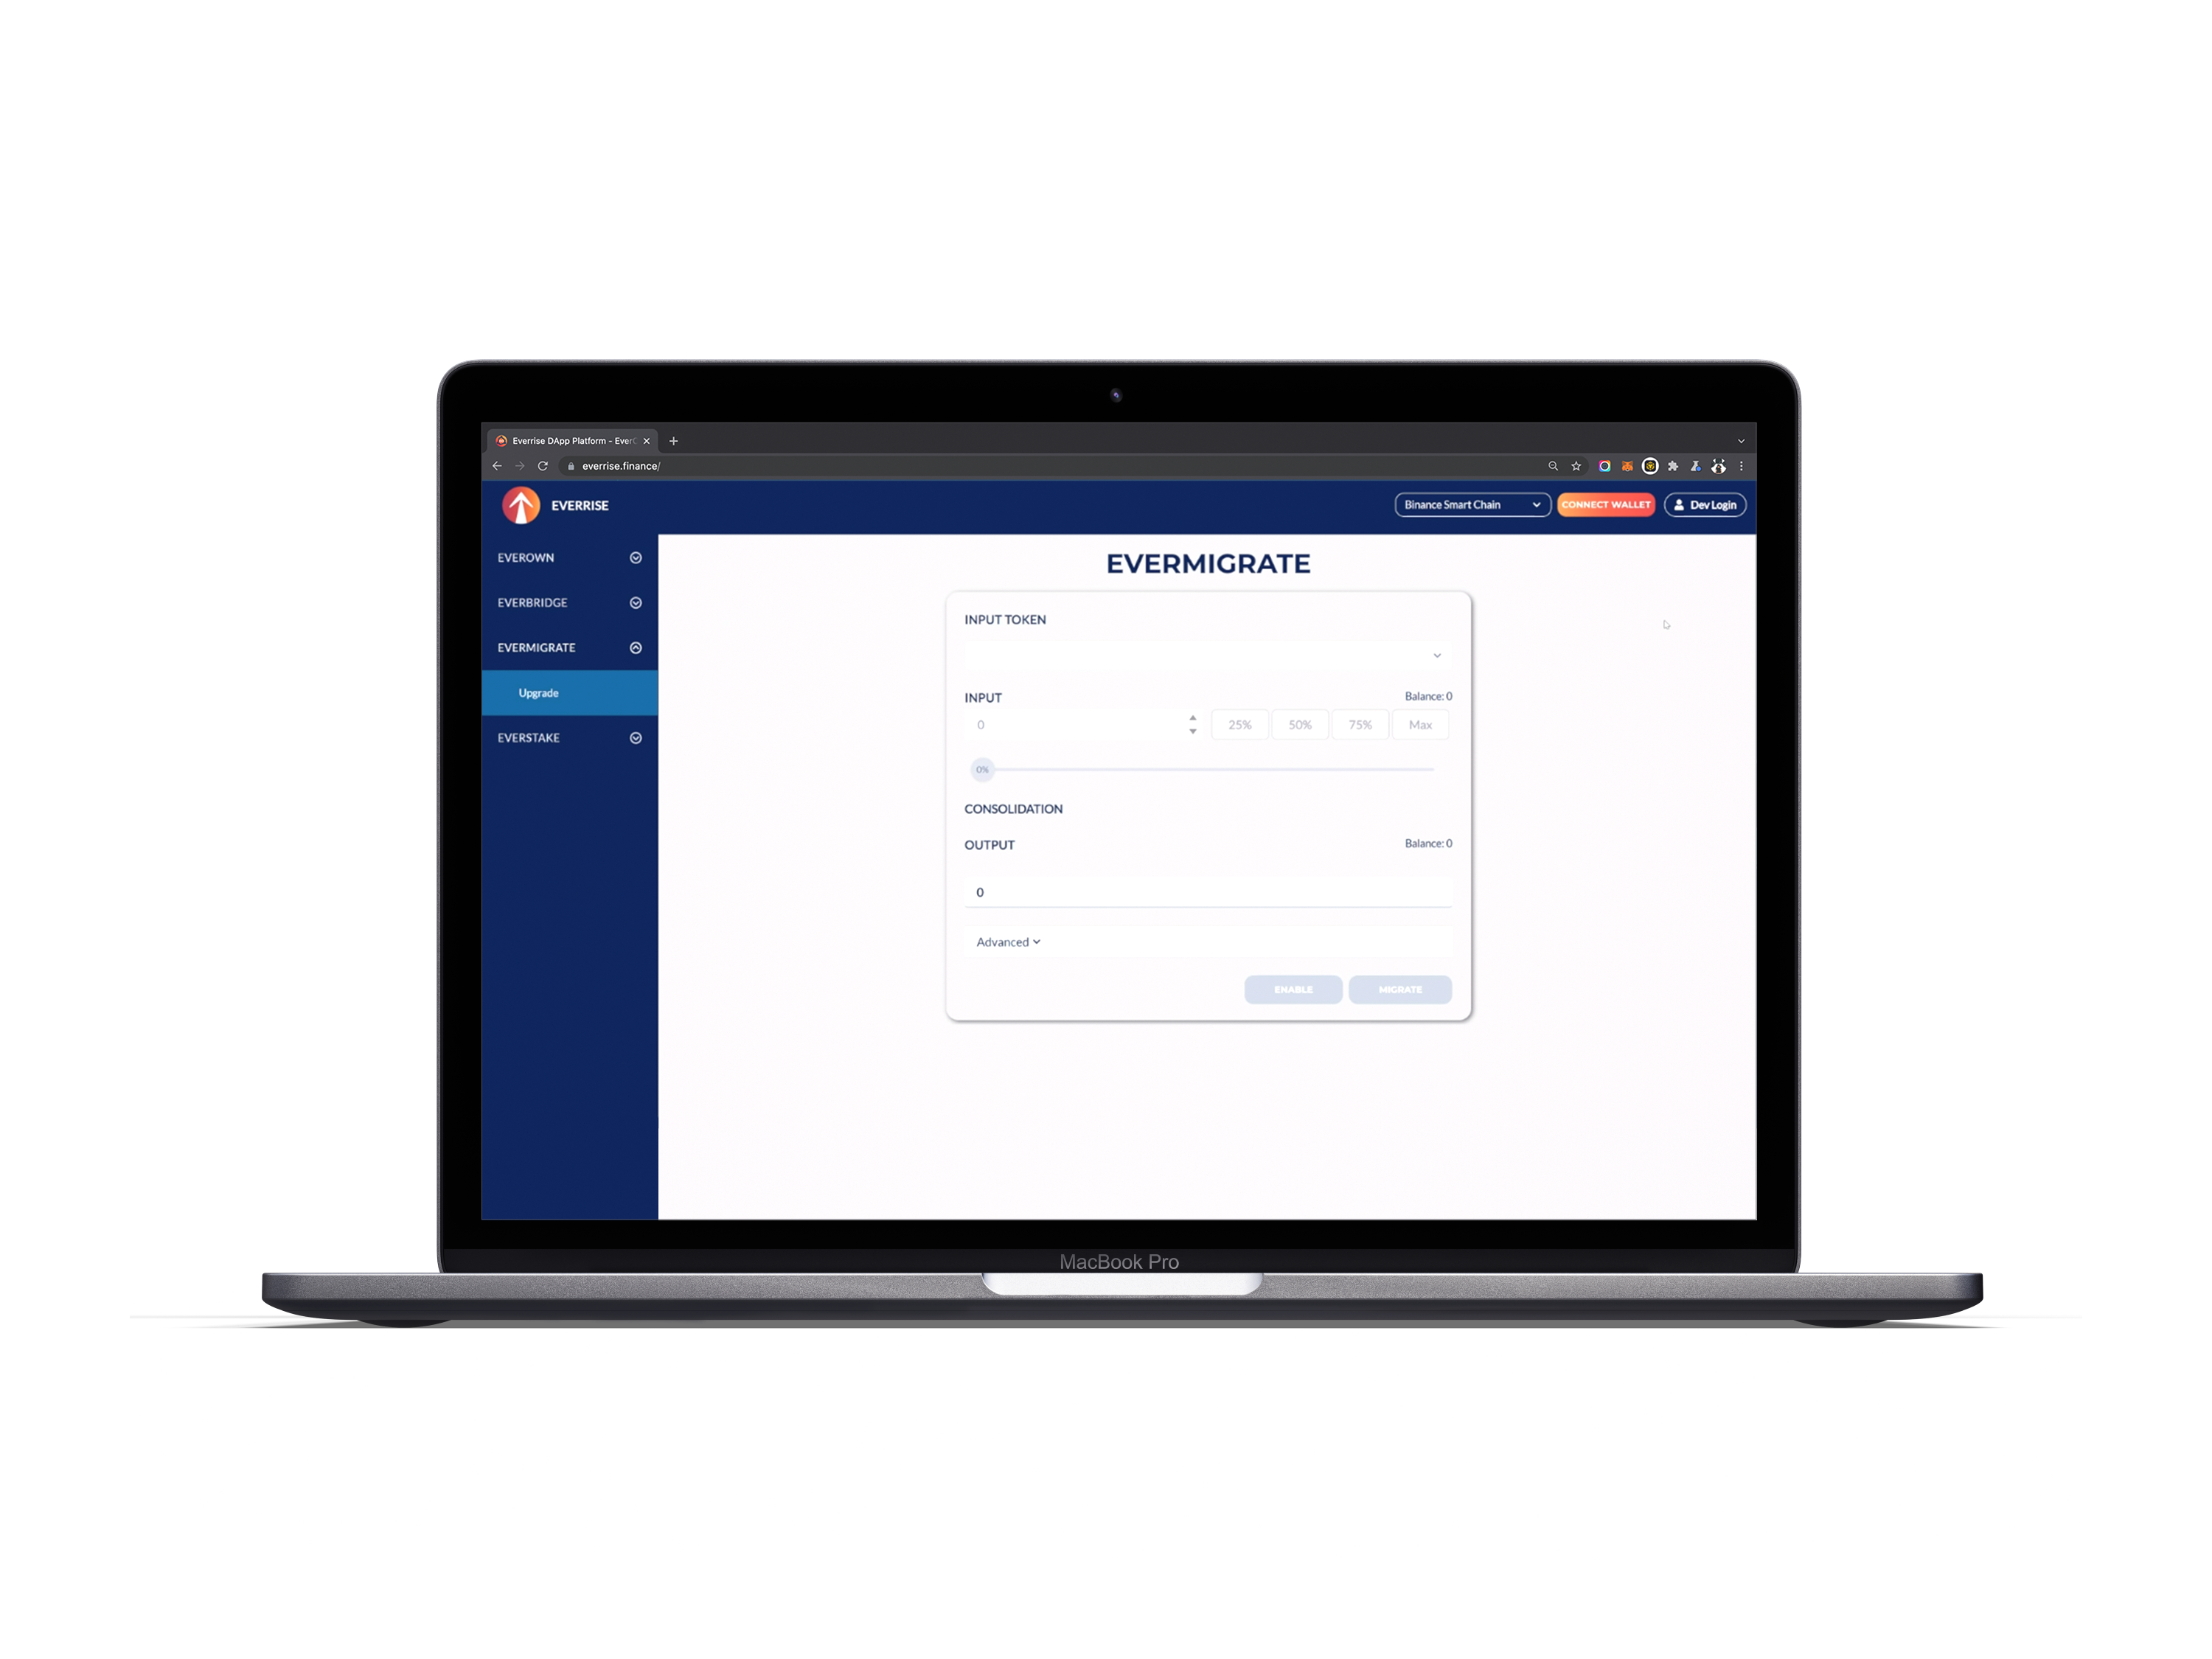
Connect Wallet via MetaMask
If you do not have MetaMask, please consult our mobile guide above.
Once Your Wallet is Connected: Select EverRise
Select how many tokens you want to migrate to v2.0. You can manually enter a number or utilize the pre-calculated percentages.

Once you have selected how many v1.0 tokens you'd like to migrate for v2.0 tokens, you will need to enable EverMigrate to work with MetaMask (you can also enable before selecting how many tokens you are migrating).

Once the transaction has been signed, you will see the “Migrate” button now enabled.
Migrate
Once you're ready to migrate, press the migrate button and pay the gas.
Once your transaction has gone through, you'll receive a notification confirming that your tokens have been successfully migrated. You can click on the notification to view the txn and you can see your token balance update.
Advance Option: Sending your v2.0 Tokens to a Different Wallet Address
You can choose to send your v2.0 tokens to a new wallet address for no fees except gas. If you use this option, make sure you are inputting a wallet address that is on the same network as your original tokens.
RISE/BNB (BEP-20): Use a wallet address that is compatible with BEP-20
RISE/ETH (ERC-20): Use a wallet address that is compatible with ERC-20

Which #NFTs will you claim by staking?
— EverRise (@EverRise) November 21, 2021
Steel, Bronze, Silver, Gold, Sapphire, Ruby, Emerald, Amber, Amethyst, Pearl, Obsidian, Diamond.
Or will you stake for all periods to complete a collection?
Illustrative Whale Collection, 5 months (Sapphire), BSC chain below. 🐳💎 pic.twitter.com/ExSNRaVfXm
After the initial v2.0 launch period is done, we will be allowing you to claim your migration NFTs for your v1.0 -> v2.0 upgrade.
Only one migrate NFT per denomination (12 total) per wallet address can be claimed and it will round down to the nearest threshold amount that hasn't been claimed by that address. (e.g. two txns upgrading to 10M v2 each would be able to claim the 10M and 5M NFT).
The claim will be done in the EverMigrate app and will only cost gas and have no RISE cost.
Need to transfer your RISE v2.0 tokens across the chain? See our tutorial on how to use EverBridge below.
Jul 7, 2023
Move your stablecoins cross-chain for cheaper with CrossX! Earn immediate yield by providing liquidity.

Jan 31, 2023
Starting today, each RiserBotz minted is entered to win one of five free RiserBotz daily.

Jan 17, 2023
These bots are here for good! RiserBotz is a collection of 10,000 PFPs on the Ethereum blockchain. They are the first ERC-721 token that holders can lock in their wallet. EverRise, Inc. ....